Need Assitance?
Call us at 844-203-6588.
We Accept



$11,038.00

Production Time: 2 Business Days After Proof Approval
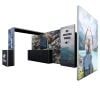
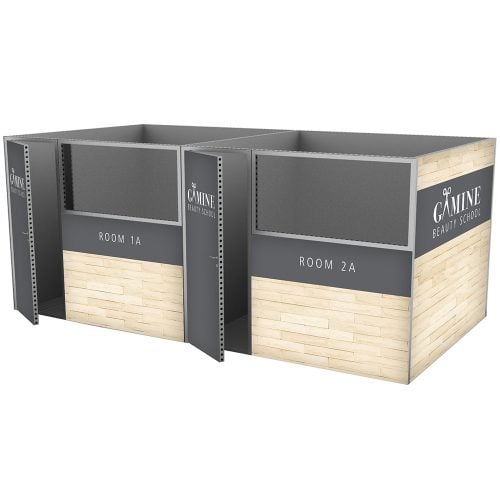
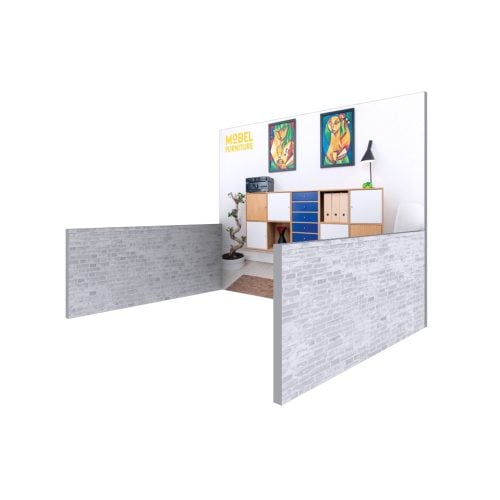
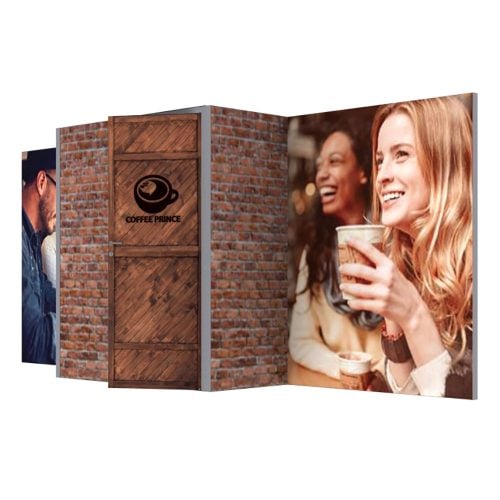
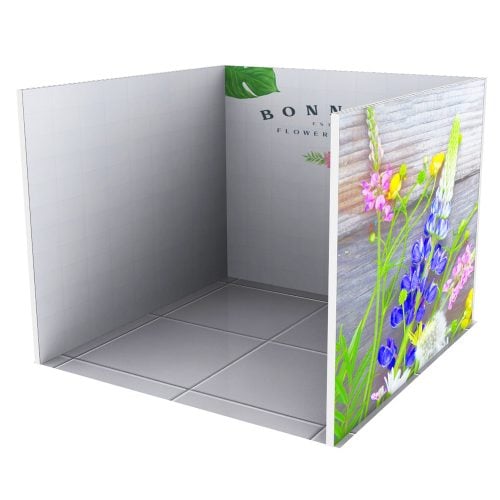
The 10×10 modco 19 modular display delivers the kind of booth presence that a small footprint rarely affords — hard panel construction, rich full-bleed graphics, and a configuration flexible enough to serve a packed regional show or an intimate product launch equally well. Unlike fabric-based systems that can look soft or wrinkled under harsh show-floor lighting, the Modco 19’s rigid panels hold their shape show after show, keeping your brand imagery crisp from opening bell to teardown. This graphic package bundles everything you need to go from bare floor to finished display: the panel framework, the printed graphic inserts, and the hardware to connect it all. The system supports optional monitor mounting and shelving accessories, so your booth can do more than just display — it can demonstrate, sell, and engage. Part of the broader Modco modular display line, the Modco 19 is designed for exhibitors who need a booth that holds up across a multi-show season without demanding a re-investment every quarter. Setup requires no tools and no specialized labor, which means your team can have the display floor-ready in under an hour. If you have been hunting for a modco hard panel display that balances professional finish with genuine portability, the Modco 19 graphic package is worth a close look.
Before configuring anything, it helps to know exactly what ships in the box. The 10×10 modco 19 modular display graphic package includes the panel frames, pre-printed graphic inserts sized to each panel position, and all connecting hardware. Panels arrive protected and indexed so you know precisely where each piece goes. Below is a quick-reference breakdown of the core package components:
| Component | Details |
|---|---|
| Panel frames | Hard panel substrate, lightweight aluminum perimeter |
| Printed graphic inserts | Full-color, UV-resistant dye-sublimation or direct print |
| Connecting hardware | Tool-free cam-lock connectors |
| Carry case | Heavy-duty rolling case doubles as a counter base |
| Monitor mount bracket | Optional add-on; compatible with most consumer displays |
| Shelving kit | Optional add-on; fits standard Modco panel channels |
Graphics are produced from your submitted files, so turnaround begins once art is approved — plan accordingly if your show date is close.
The no-tool assembly process is a genuine selling point, not a marketing convenience. Here is how the setup sequence runs on a real show day:
Total setup time for a practiced two-person team: approximately 45 minutes.
Hard panel modular displays earn their price premium through longevity. The Modco 19’s panels use a rigid substrate that resists warping even in the fluctuating humidity of convention center loading docks and exhibit halls. Graphics are printed at high resolution — typically 720 dpi or higher — so photography, fine type, and gradient-heavy brand elements all reproduce cleanly without the blurring that plagues lower-resolution systems.
The graphic inserts in this custom modco display are replaceable. When a campaign ends or a product line changes, you swap the graphics rather than retiring the frame. That replaceability is what makes the per-show cost drop sharply over a three- or four-year exhibit program. If you want guidance on evaluating that long-term cost picture, the modular display buying guide walks through exactly that kind of ROI math for hard-panel versus fabric systems.
Color accuracy is matched to standard CMYK print profiles. Submit files in RGB and the pre-press team converts to print-optimized CMYK before production begins, so what you see in your design software translates faithfully to the finished panel.
The Modco 19 works well as a standalone 10×10 booth, but it also fits neatly into a larger exhibit program. Exhibitors who run a mix of show sizes often pair this display with a 20×10 or 30×10 Modco configuration for larger shows, using the same graphic language across frames for visual consistency. You can browse the full range of 10×10 modular display options to compare footprints and panel counts before committing.
If your program includes shows where a lighter, fabric-based system makes more sense — say, a multi-city road show with tight baggage limits — the Qseg modular display is worth considering as a companion format. For exhibitors who want a more flexible tube-frame option, the EZ Connect modular system handles curved and angular configurations that hard-panel systems cannot replicate.
When you add the modco modular kit’s optional shelving, the display can hold product samples, literature, or demonstration hardware — a useful feature if your booth team runs product demos throughout the day. The modco with shelves accessory configuration is documented on the Modco product hub if you want to confirm shelf weight ratings before ordering.
The Modco 19 graphic package ships with everything you need to hit the show floor. Submit your artwork, confirm any accessory add-ons — monitor mount, shelving, literature pockets — and your order goes into production. Questions about specs, file requirements, or configuration options? Contact the Showfire team directly; turnaround timelines and freight details are available on request. Order now and have your display ready before your next show date.
| Weight | 385 lbs |
|---|---|
| Dimensions | 104 × 54 × 44 in |
Products You May Also Like

Clogo 144 Airsquirrels

Clogo 231 Baytek

Clogo 232 Treemendous

Clogo 239 Freightwaves

Clogo 234 Hardyproair

Clogo 237 Redbull

Clogo 241 Animeusa

Clogo 230 Edgefactory

Clogo 236 Fujifilm

Clogo 63 Sclhealth

Clogo 251 Ivanzi

Clogo 242 Wescom

Clogo 250 Snapcab

Clogo 225 United Teleports

Clogo 219 Ecp

Clogo 218 Baylor
Clogo 243 Lord

Clogo 175 Tamucc

Clogo 224 Becker

Clogo 212 Bankofmarin

Clogo 199 Carpetsplus

Clogo 202 Arbor

Clogo 188 Jbhunt

Clogo 197 Meteor

Clogo 193 Randc

Clogo 183 Intuit

Clogo 184 K2 Spas

Clogo 185 Unl

Clogo 187 Cirquedesoleil

Clogo 178 Petra

Clogo 173 Freedom

Clogo 161 Universalorlando

Clogo 159 Paynewest
Clogo 158 Tyson

Clogo 167 Vantage

Clogo 180 Nlp
Clogo 155 Wrs

Clogo 152 Mir

Clogo 151 Vegalab

Clogo 146 Goldfishcons

Clogo 145 Arrowavi

Clogo 156 Frg

Clogo 120 Pga

Clogo 110 Ozark

Clogo 108 Main Even
Clogo 104 Waco
Clogo 91 Seattlepump

Clogo 111 Thechapel

Clogo 134 Bakenjoy

Clogo 133 Act

Clogo 142 Cfn

Clogo 140 Hydrofarm

Clogo 126 Aerofarms

Clogo 135 Scbc

Clogo 137 Ferrumcity

Clogo 94 Miyokos
Clogo 93 Landaw

Clogo 98 Renttruck
Clogo 100 Cpmontana

Clogo 85 Hulu

Clogo 87 Schomp
Clogo 88 Beefjerky

Clogo 103 Amature

Clogo 81 Gartner
Clogo 80 Betson

Clogo 75 Blades
Clogo 73 Roseland

Clogo 72 Vacumax

Clogo 65 Nationwide
Clogo 45 Holanamericaline

Clogo 44 Livenation

Clogo 37 Mobilefleet

Clogo 56 Corporater
Clogo 55 Nextstar
Clogo 36 Oro

Clogo 34 Corecontractors

Clogo 54 Tazikis

Clogo 46 Kbellaspa
Clogo 204 Congoleum

Clogo 32 Veoride
Clogo 33 Bigiron

Clogo 30 Nutrabolt
Clogo 17 Foodmaven

Clogo 24 Comcast
Clogo 21 Radiantcurch

Clogo 05 Nikaochurch
Clogo 28 Bindlecoffee
Clogo 83

Clogo 246 Cstechnologies

Clogo 247 Gainesville

Clogo 52 Godlan

Clogo 08 Theheightschurch

Clogo 12 Go By Greenshield Oragnic

Clogo 14 Backbeat Creative