Need Assitance?
Call us at 844-203-6588.
We Accept


$15,448.00

Production Time: 2 Business Days After Proof Approval
The cabo booth d modular island display is one of the most capable 20×20 configurations in the Cabo line — a fabric-tension island booth built to perform across multi-day events without looking like it worked hard to get there. Silicone-edge graphics lock into the aluminum frame with a clean, tailored finish that printed panels simply cannot replicate, and the open island footprint lets visitors approach from any direction without running into a backwall. Because the entire structure breaks down into manageable cases, a two-person crew can have it up and ready in a fraction of the time a custom exhibit demands. The graphic package ships as a complete set — every SEG fabric panel sized and printed to fit your Cabo D frame with no patchwork ordering required. If you are planning a product launch, a flagship trade show presence, or a recurring national circuit, this display has the visual coverage and the structural repeatability to carry the program. Think of it as the point where a cabo modular booth stops feeling like a rental workaround and starts functioning like a permanent brand asset.
Please Call to Order This Standard Configuration or for a Design Consultation.
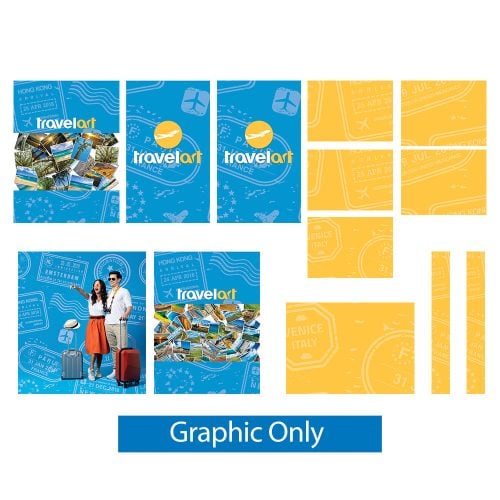
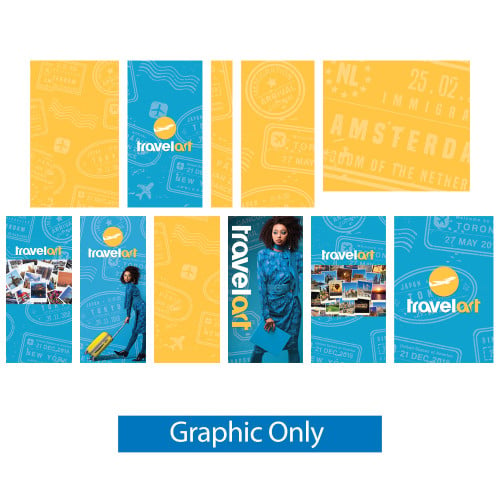
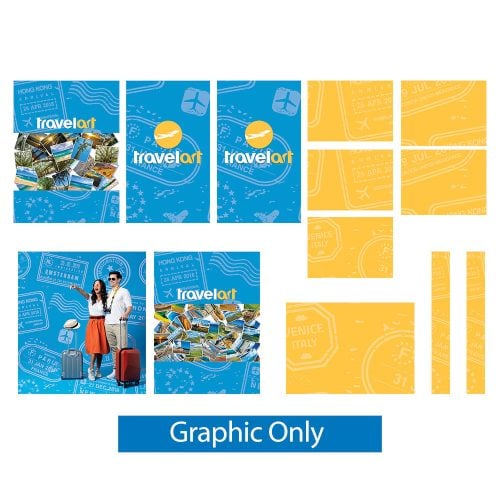
The word “complete” gets used loosely in the display industry. For the cabo booth d modular island display, it means every silicone-edge graphic panel that attaches to the D-configuration frame is included — nothing is sold separately, nothing is assumed. Panels are printed on a stretch-fabric substrate that pulls smooth across the aluminum extrusion channels, eliminating the bubbles and sag that flat-panel printing develops after a few shows. Color is reproduced at high dpi with a dye-sublimation process, which means the image saturates through the fiber rather than sitting on the surface; it will not crack, peel, or fade after repeated install cycles. When a panel eventually needs replacement — from a coffee spill or a rebranding — you order that panel alone, not the full set.
| Graphic Detail | Specification |
|---|---|
| Substrate | Stretch SEG fabric |
| Print Method | Dye-sublimation |
| Edge Finish | Silicone bead for channel-frame tensioning |
| Panel Replacement | Individual panel ordering available |
| Footprint | 20×20 island configuration |
Setting up a modular island exhibit this size is straightforward when the components are engineered to click together in a defined order. Here is the Cabo D sequence:
Most experienced crews complete this setup in under 90 minutes for a 20×20 footprint.
At a distance, any large-format fabric display reads well. The real test is what happens when an attendee steps inside the island and looks closely at your graphics. The cabo booth d modular island display uses dye-sub fabric that holds photographic gradients — skin tones, food photography, environmental landscapes — without the banding that inkjet systems show at close range. Seams between adjacent panels are aligned at the factory before shipment, so panel-to-panel color continuity is matched rather than approximated.
The silicone bead itself disappears into the frame channel flush, leaving no visible hardware on the face of the graphic. Compare that to push-fit fabric systems where the bead clips sit proud of the surface and cast a shadow line. The cabo seg modular approach handles this by recessing the channel entirely inside the extrusion profile.
For buyers who need a broader look at how SEG and other fabric technologies compare before committing, the modular trade show display guide on Showfire walks through every major system with side-by-side technical context.
The Cabo D is not a standalone product in isolation — it lives inside a broader Cabo island booth family that spans multiple frame configurations and footprints. If your show schedule includes a smaller 10×10 or 10×20 inline space alongside your island dates, several Cabo frame components transfer between configurations, reducing your total asset inventory.
For buyers comparing fabric-tension options across the modular displays catalog, two sibling systems are worth a direct look. The Qseg modular display uses a similar SEG channel approach at a lighter weight class, which suits exhibitors who prioritize carry weight over footprint size. If you need integrated monitor mounting or a more structured accessory ecosystem, the EZ Connect modular offers a frame system built around those add-ons from the ground up.
Choosing between them comes down to your show type and crew size. The cabo hybrid display configuration — and the D layout in particular — rewards exhibitors who run a modular display 20×20 island space on a regular circuit and need the setup process to be fast and repeatable without trading away graphic quality.
If you are still weighing which system fits your event program best, the scalable modular exhibit system guide covers configuration decision points, graphic package comparisons, and what to ask before you order.
The cabo booth d modular island display ships as a complete graphic package — frame-ready SEG panels, hardware, and carry cases included. Custom artwork setup is available directly through Showfire, and the team can work from your existing brand files to finalize print-ready output. Visit the product page, select your graphic options, and submit your artwork to start production. Orders ship with free freight, and Showfire’s pre-press team reviews every file before it goes to press. Configure yours now and have a production-grade island display ready for your next event.
| Weight | 810 lbs |
|---|---|
| Dimensions | 102 × 50 × 45 in |
Products You May Also Like

Clogo 144 Airsquirrels

Clogo 231 Baytek

Clogo 232 Treemendous

Clogo 239 Freightwaves

Clogo 234 Hardyproair

Clogo 237 Redbull

Clogo 241 Animeusa

Clogo 230 Edgefactory

Clogo 236 Fujifilm

Clogo 63 Sclhealth

Clogo 251 Ivanzi

Clogo 242 Wescom

Clogo 250 Snapcab

Clogo 225 United Teleports

Clogo 219 Ecp

Clogo 218 Baylor
Clogo 243 Lord

Clogo 175 Tamucc

Clogo 224 Becker

Clogo 212 Bankofmarin

Clogo 199 Carpetsplus

Clogo 202 Arbor

Clogo 188 Jbhunt

Clogo 197 Meteor

Clogo 193 Randc

Clogo 183 Intuit

Clogo 184 K2 Spas

Clogo 185 Unl

Clogo 187 Cirquedesoleil

Clogo 178 Petra

Clogo 173 Freedom

Clogo 161 Universalorlando
Clogo 159 Paynewest
Clogo 158 Tyson

Clogo 167 Vantage

Clogo 180 Nlp
Clogo 155 Wrs

Clogo 152 Mir

Clogo 151 Vegalab

Clogo 146 Goldfishcons

Clogo 145 Arrowavi

Clogo 156 Frg

Clogo 120 Pga

Clogo 110 Ozark

Clogo 108 Main Even
Clogo 104 Waco

Clogo 91 Seattlepump
Clogo 111 Thechapel

Clogo 134 Bakenjoy

Clogo 133 Act

Clogo 142 Cfn

Clogo 140 Hydrofarm

Clogo 126 Aerofarms
Clogo 135 Scbc

Clogo 137 Ferrumcity

Clogo 94 Miyokos

Clogo 93 Landaw

Clogo 98 Renttruck

Clogo 100 Cpmontana

Clogo 85 Hulu

Clogo 87 Schomp
Clogo 88 Beefjerky

Clogo 103 Amature

Clogo 81 Gartner
Clogo 80 Betson

Clogo 75 Blades

Clogo 73 Roseland

Clogo 72 Vacumax

Clogo 65 Nationwide
Clogo 45 Holanamericaline

Clogo 44 Livenation

Clogo 37 Mobilefleet

Clogo 56 Corporater
Clogo 55 Nextstar
Clogo 36 Oro

Clogo 34 Corecontractors

Clogo 54 Tazikis

Clogo 46 Kbellaspa
Clogo 204 Congoleum

Clogo 32 Veoride
Clogo 33 Bigiron

Clogo 30 Nutrabolt
Clogo 17 Foodmaven

Clogo 24 Comcast

Clogo 21 Radiantcurch
Clogo 05 Nikaochurch
Clogo 28 Bindlecoffee
Clogo 83

Clogo 246 Cstechnologies

Clogo 247 Gainesville

Clogo 52 Godlan

Clogo 08 Theheightschurch

Clogo 12 Go By Greenshield Oragnic

Clogo 14 Backbeat Creative