Need Assitance?
Call us at 844-203-6588.
We Accept
$807.00

Production Time: 2 Business Days After Proof Approval
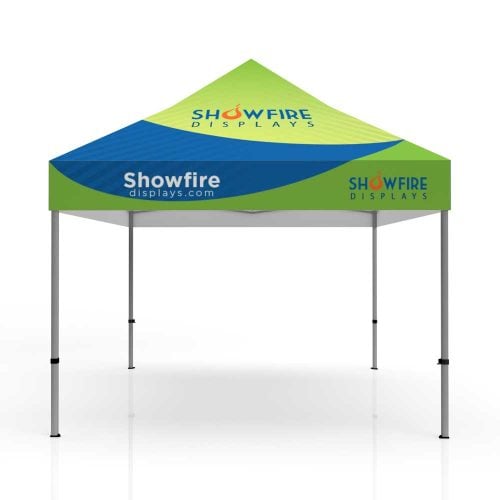
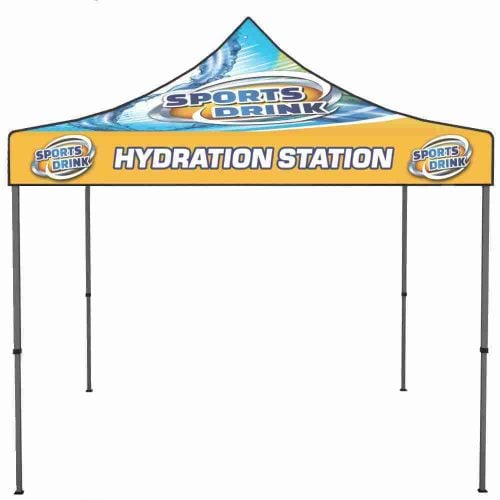
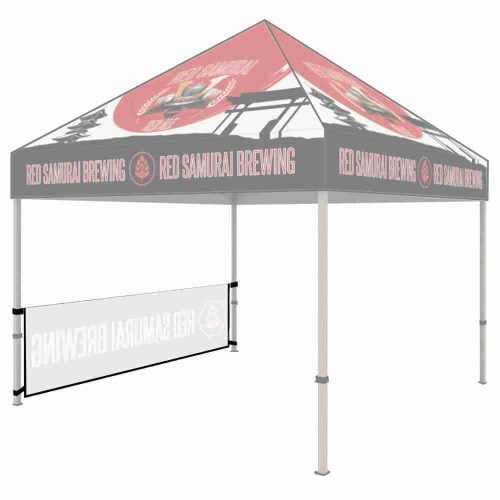
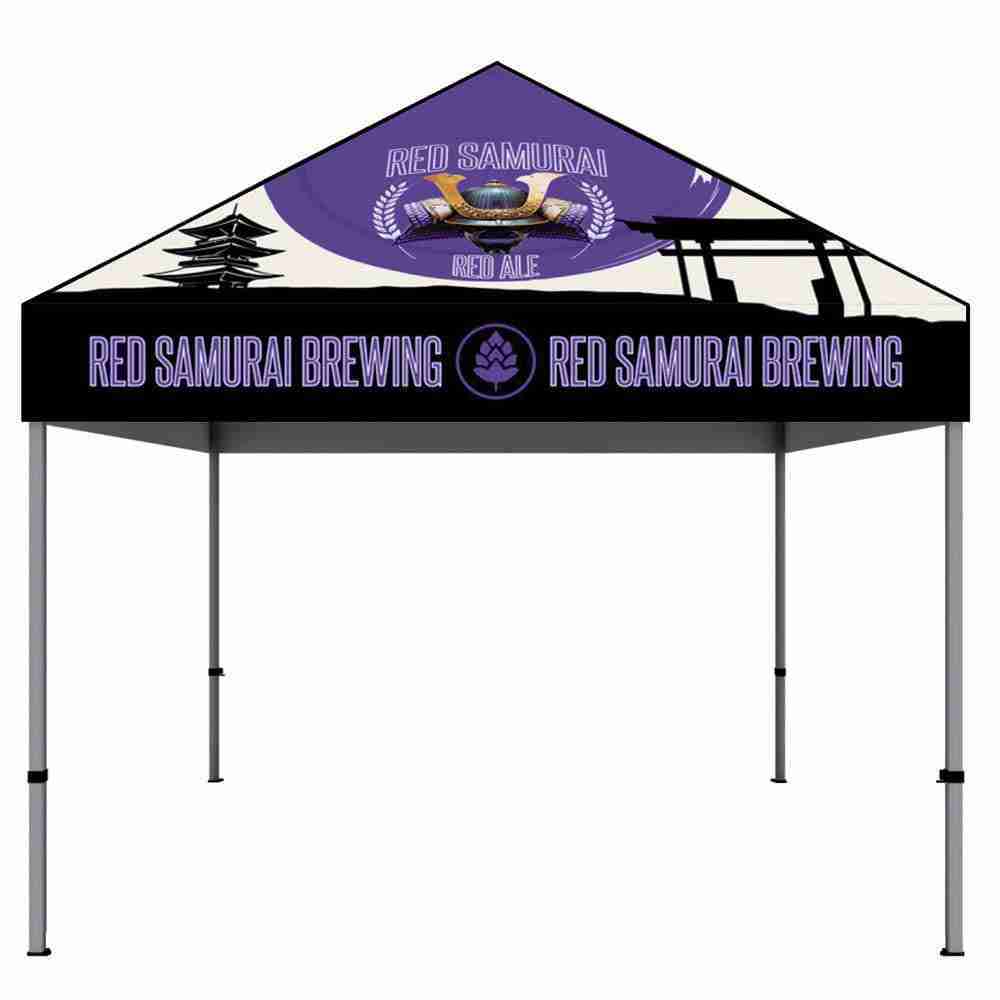
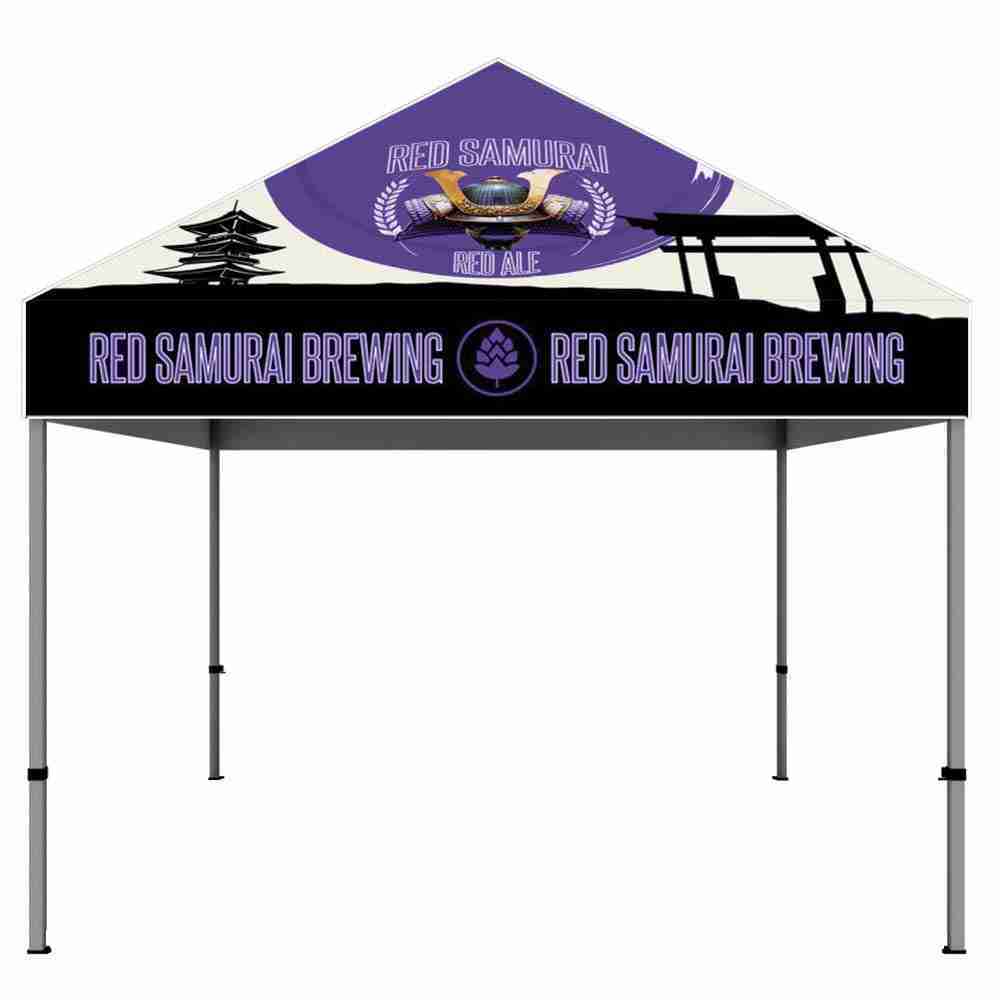
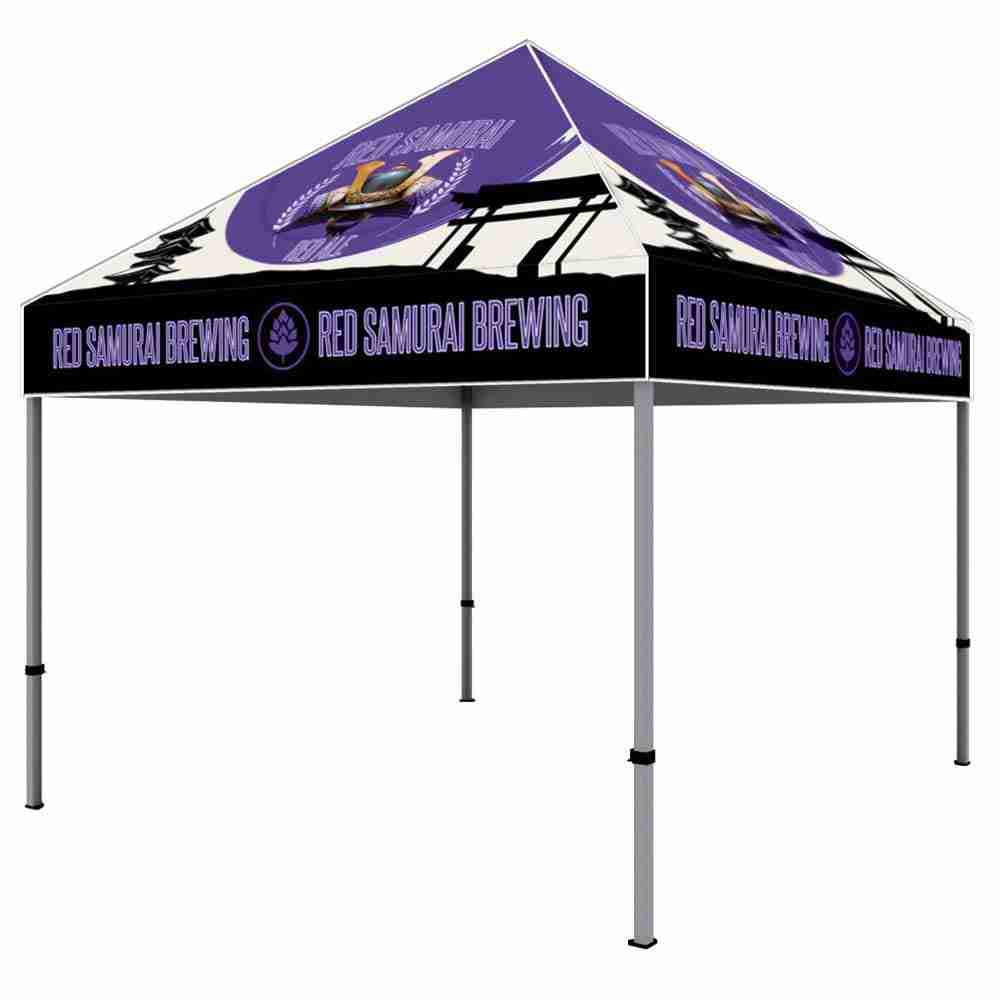
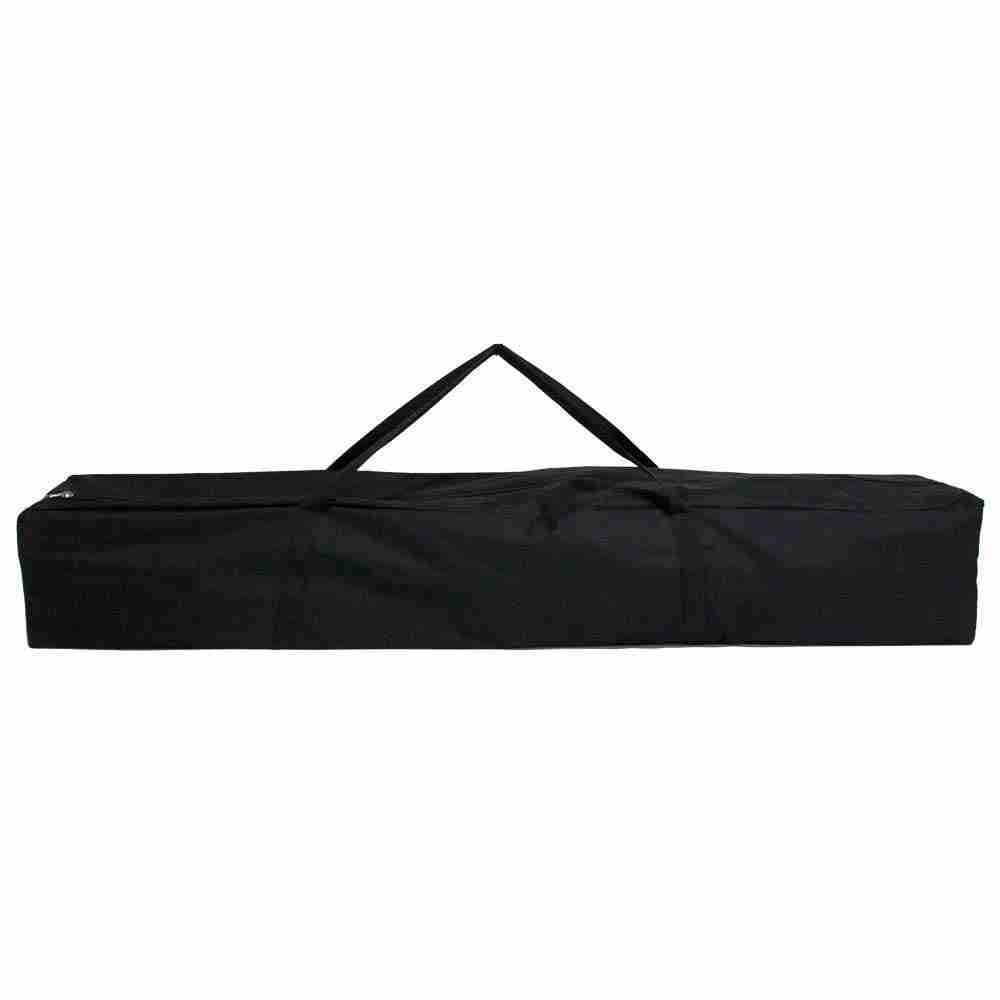
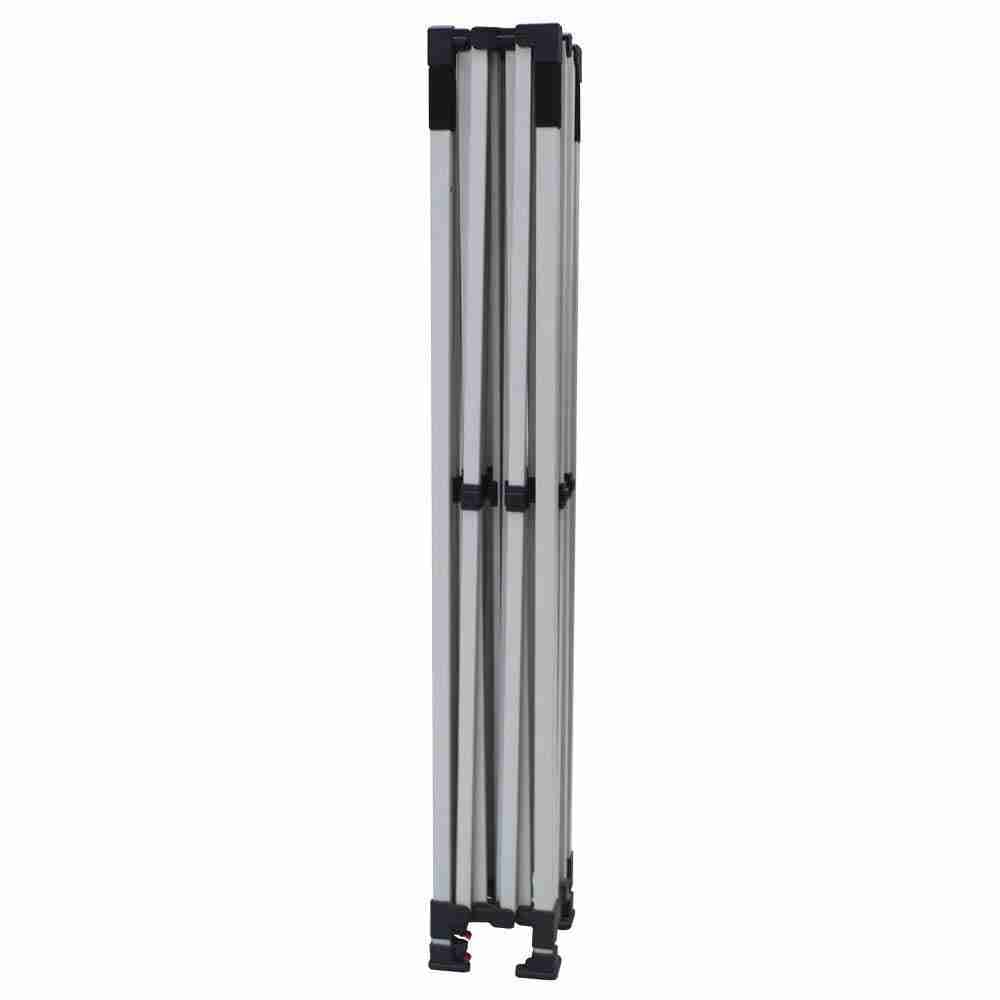
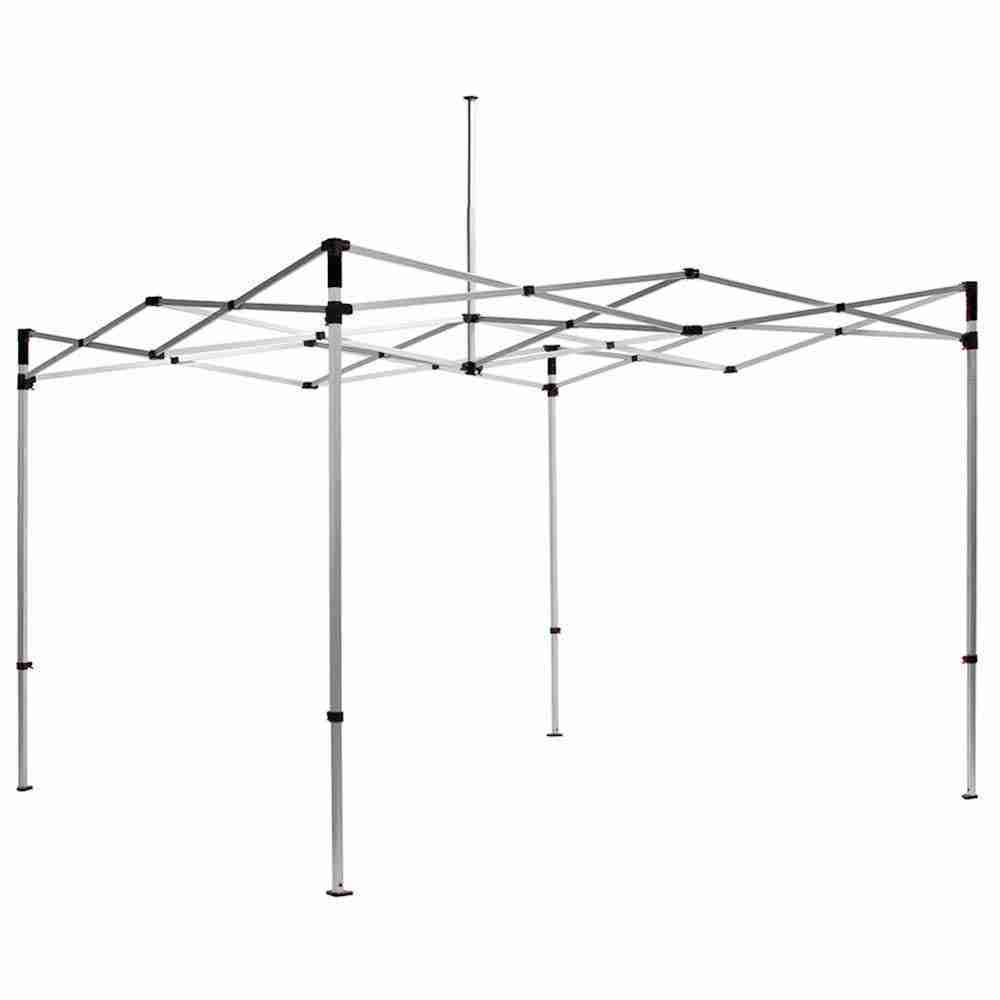
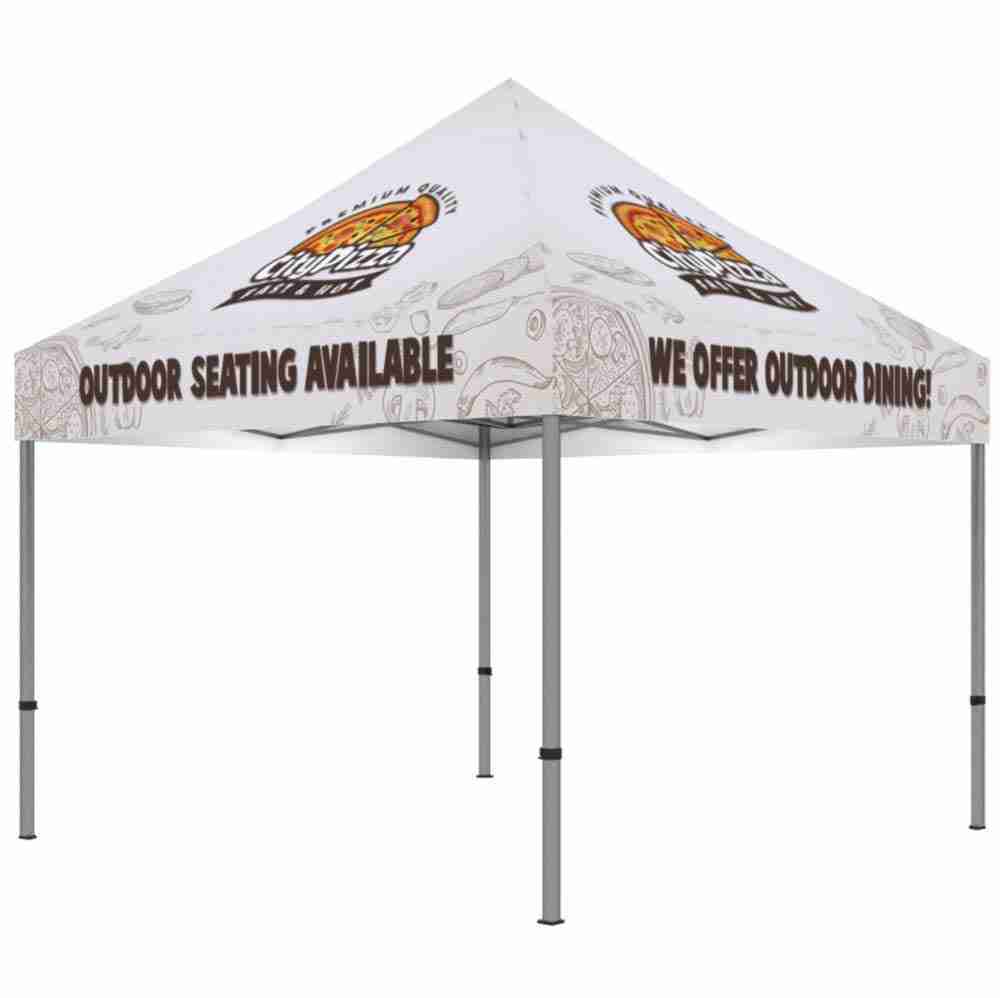
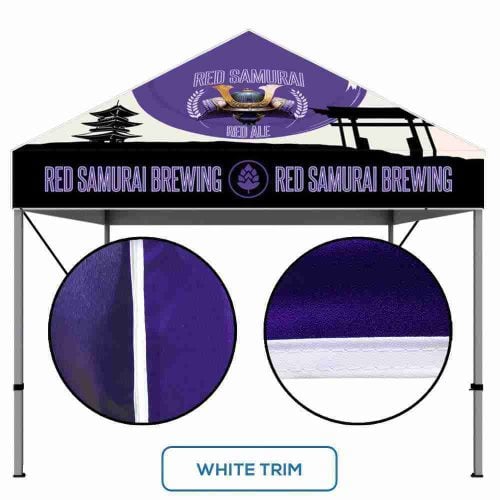
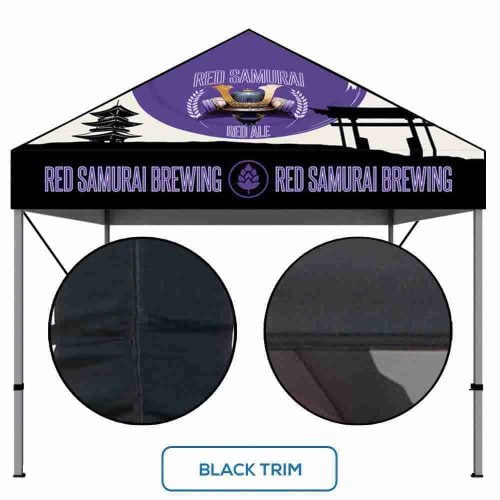
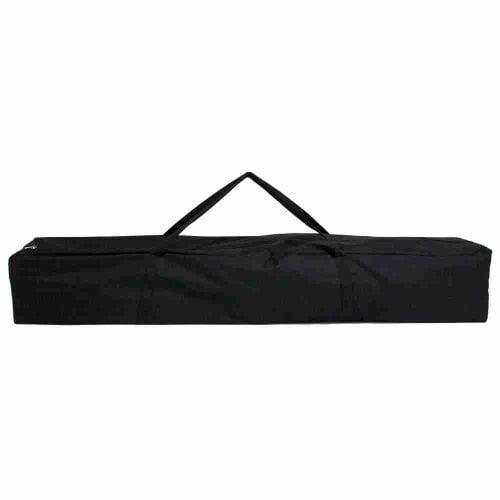
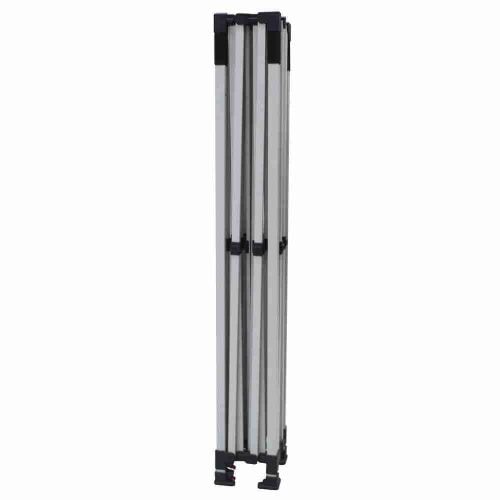
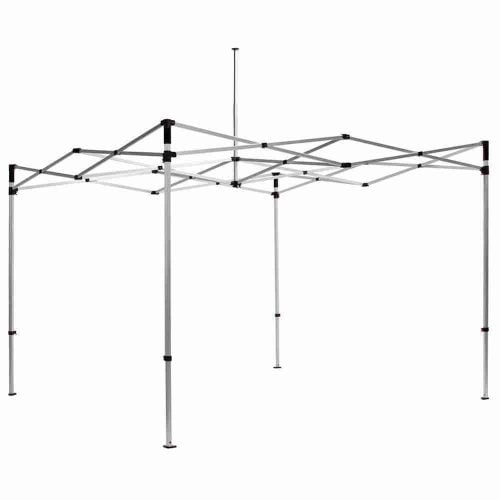
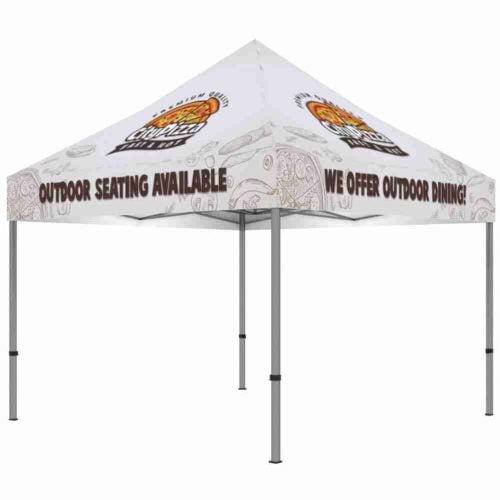
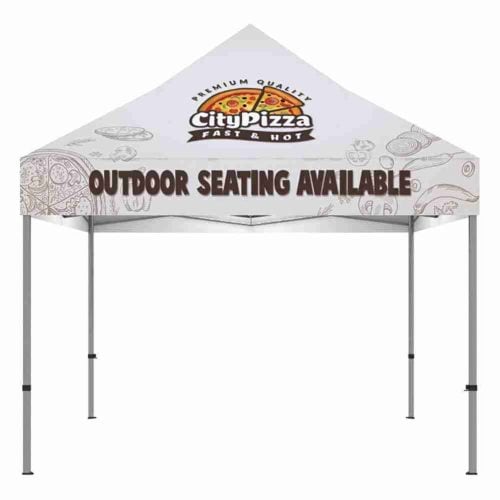
The 10×10 aluminum frame custom canopy tent in this kit is built for brands that show up to outdoor events prepared — not just present. A powder-coated aluminum frame delivers the kind of rigidity that handles wind, repeated assembly, and the wear of a full event season without warping or corroding the way cheaper steel frames do. The full-color dye-sublimation canopy top is printed edge to edge, so your logo, palette, and messaging read clearly from across a crowded venue. Every component in the kit — frame, canopy top, and carry bag — is included out of the box, which means there is no scrambling for missing hardware on setup day. This size covers 100 square feet of footprint, a depth that fits a standard vendor or trade-show booth slot comfortably while leaving room for a table, product display, and two or three staff members. For buyers evaluating their options before committing, the custom canopy tent buying guide breaks down frame materials, print methods, and sizing in clear, practical terms. If you are ready to configure your graphics and review the full spec sheet, you can go straight to the 10×10 canopy tent with logo product page.
Getting a 10×10 aluminum frame custom canopy tent into position is straightforward when you know the sequence. Follow these steps in order and a two-person crew can go from a closed carry bag to a fully branded shelter in under fifteen minutes.
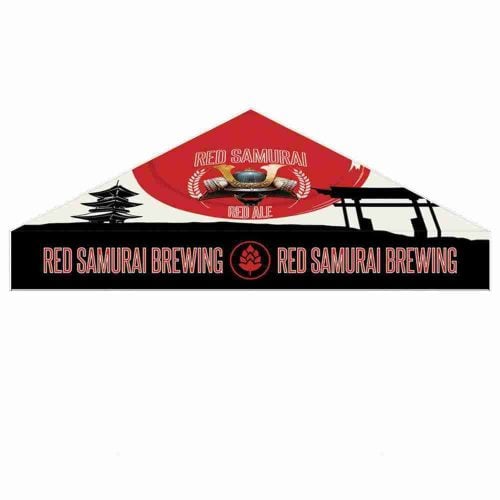
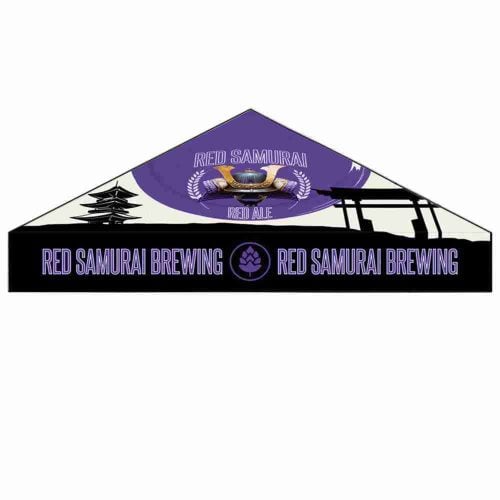
The canopy top is printed using dye-sublimation, a process where heat bonds pigment directly into the polyester fabric rather than sitting on top of it as an ink layer would. The practical benefit is that colors stay saturated through repeated setups, UV exposure, and a gentle hand-wash cycle without flaking or cracking. A 10×10 custom pop up tent with a block logo or a simple gradient reads well at a distance, but dye-sub rewards complex artwork too — gradients, photographic elements, and fine text all reproduce accurately because the process is not constrained by a limited color gamut.
The canopy fabric itself is a coated polyester with a UPF rating that blocks a significant share of UV, which matters both for protecting products displayed inside and for the comfort of staff working extended event days. Seams are reinforced at the corner hubs where stress concentrates during setup and takedown.
| Print spec | Detail |
|---|---|
| Print method | Dye-sublimation |
| Coverage | Full roof panel, edge to edge |
| Fabric | Coated polyester |
| Color matching | CMYK process; Pantone reference accepted |
| Care | Spot clean or gentle hand wash, air dry |
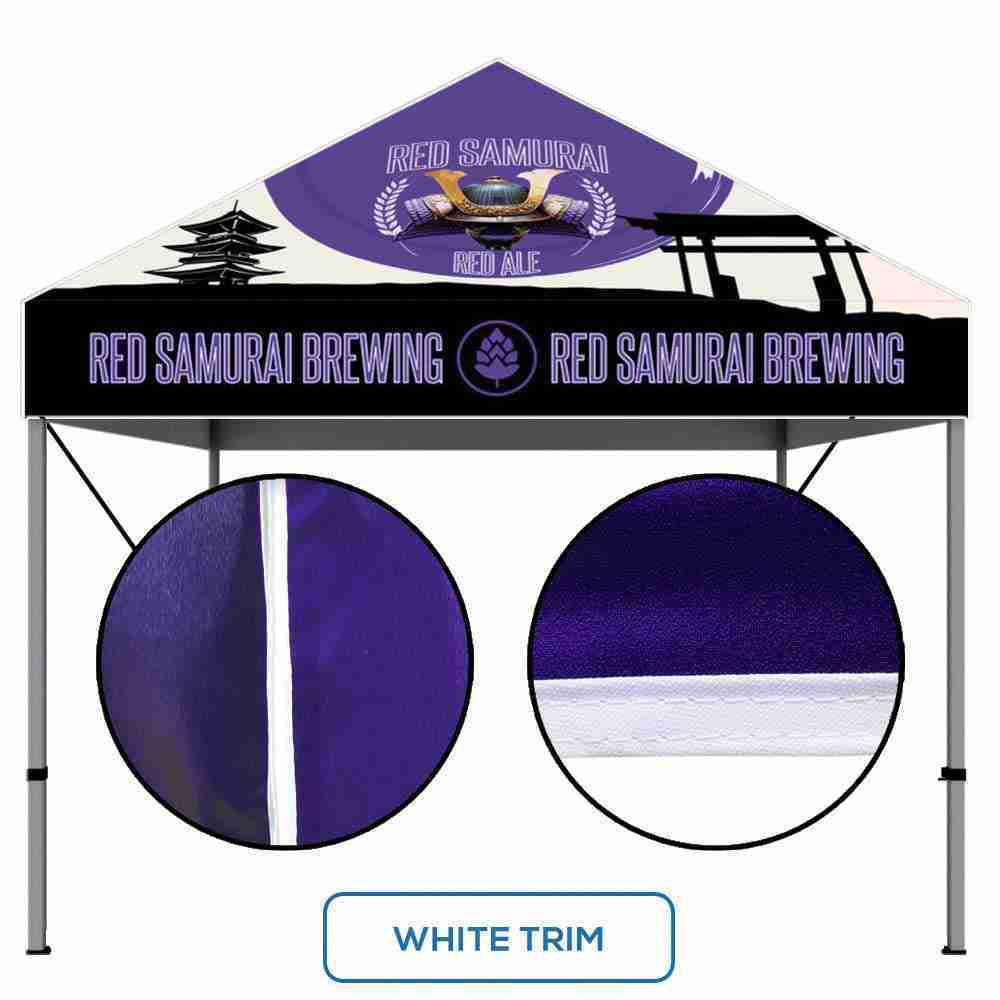
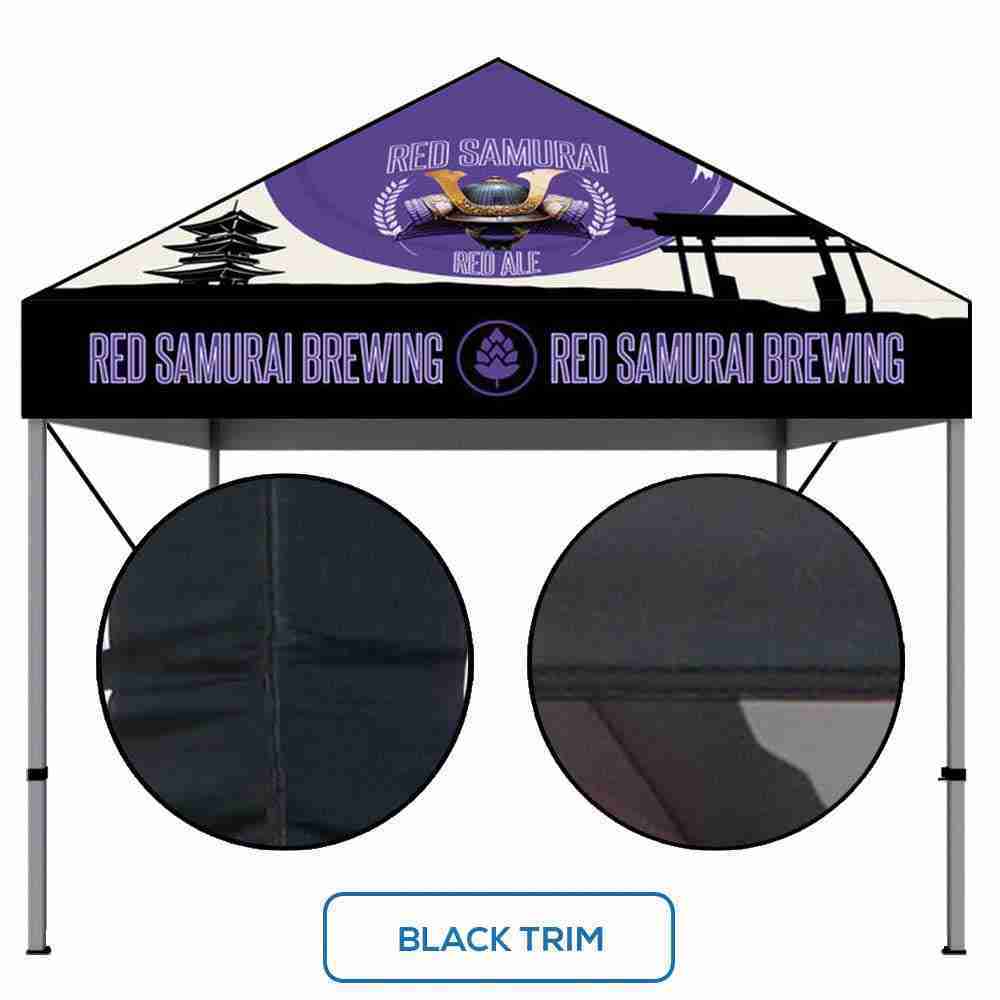
If you need a 10×10 canopy tent custom print that includes a peak flag, valance strip, or branded sidewalls, those are available as add-on options and use the same dye-sub process so color consistency carries across every panel.
The 10×10 aluminum frame custom canopy tent is the most versatile size in the Showfire canopy tent line, but it works alongside other pieces in the custom pop up tents collection in ways that matter for multi-day or multi-event setups. Weight bags, side walls, back walls, and half walls are all designed to pair directly with the 10×10 frame, and ordering them as a bundle from the start avoids the compatibility guesswork that comes with sourcing accessories separately.
If your booth footprint varies by event — a smaller farmers market slot one weekend, a larger festival space the next — it is worth looking at the 5×5 canopy tent as a compact companion piece that shares a similar frame design and carry bag form factor. For situations where a single booth needs to cover a longer run of space, the 10×15 custom canopy tent adds five feet of depth without requiring a second tent or a larger crew to set up.
The 10×10 custom canopy tent with logo is also the format most rental venues and event coordinators expect when they publish booth size requirements, which means this configuration has the least friction at permitting and check-in.
The 10×10 aluminum frame custom canopy tent ships as a complete kit — frame, printed canopy, and carry bag — with no additional hardware purchases required to get on site. Upload your artwork, confirm your color requirements, and place your order directly through the product page. For buyers who want a broader picture of the full Showfire canopy tent line before deciding, the aluminum vs steel canopy tent section of the pillar guide is a practical starting point. Configure your tent now and have a branded, weather-ready booth ready for your next event.
| Weight | 63 lbs |
|---|---|
| Dimensions | 63 × 11 × 11 in |
Products You May Also Like
Clogo 144 Airsquirrels
Clogo 231 Baytek
Clogo 232 Treemendous

Clogo 239 Freightwaves

Clogo 234 Hardyproair
Clogo 237 Redbull
Clogo 241 Animeusa

Clogo 230 Edgefactory

Clogo 236 Fujifilm
Clogo 63 Sclhealth

Clogo 251 Ivanzi

Clogo 242 Wescom

Clogo 250 Snapcab

Clogo 225 United Teleports

Clogo 219 Ecp
Clogo 218 Baylor
Clogo 243 Lord

Clogo 175 Tamucc
Clogo 224 Becker

Clogo 212 Bankofmarin
Clogo 199 Carpetsplus

Clogo 202 Arbor

Clogo 188 Jbhunt

Clogo 197 Meteor
Clogo 193 Randc

Clogo 183 Intuit

Clogo 184 K2 Spas

Clogo 185 Unl

Clogo 187 Cirquedesoleil

Clogo 178 Petra

Clogo 173 Freedom

Clogo 161 Universalorlando
Clogo 159 Paynewest
Clogo 158 Tyson

Clogo 167 Vantage

Clogo 180 Nlp
Clogo 155 Wrs

Clogo 152 Mir

Clogo 151 Vegalab

Clogo 146 Goldfishcons

Clogo 145 Arrowavi

Clogo 156 Frg
Clogo 120 Pga

Clogo 110 Ozark
Clogo 108 Main Even
Clogo 104 Waco
Clogo 91 Seattlepump
Clogo 111 Thechapel
Clogo 134 Bakenjoy

Clogo 133 Act

Clogo 142 Cfn

Clogo 140 Hydrofarm

Clogo 126 Aerofarms
Clogo 135 Scbc
Clogo 137 Ferrumcity

Clogo 94 Miyokos
Clogo 93 Landaw
Clogo 98 Renttruck
Clogo 100 Cpmontana

Clogo 85 Hulu
Clogo 87 Schomp
Clogo 88 Beefjerky

Clogo 103 Amature
Clogo 81 Gartner
Clogo 80 Betson

Clogo 75 Blades
Clogo 73 Roseland

Clogo 72 Vacumax

Clogo 65 Nationwide
Clogo 45 Holanamericaline

Clogo 44 Livenation

Clogo 37 Mobilefleet

Clogo 56 Corporater
Clogo 55 Nextstar
Clogo 36 Oro

Clogo 34 Corecontractors
Clogo 54 Tazikis

Clogo 46 Kbellaspa
Clogo 204 Congoleum

Clogo 32 Veoride
Clogo 33 Bigiron
Clogo 30 Nutrabolt
Clogo 17 Foodmaven

Clogo 24 Comcast
Clogo 21 Radiantcurch
Clogo 05 Nikaochurch
Clogo 28 Bindlecoffee
Clogo 83

Clogo 246 Cstechnologies

Clogo 247 Gainesville
Clogo 52 Godlan
Clogo 08 Theheightschurch
Clogo 12 Go By Greenshield Oragnic
Clogo 14 Backbeat Creative