




Custom Table Throws
How to Design a Custom Table Throw That Gets Your Booth Noticed
Your table is the centerpiece of your trade show booth. It’s where conversations start, products get demonstrated, and leads turn into customers. Yet so many exhibitors throw a plain cloth over their table and call it a day — missing one of the easiest, most affordable branding opportunities on the show floor.
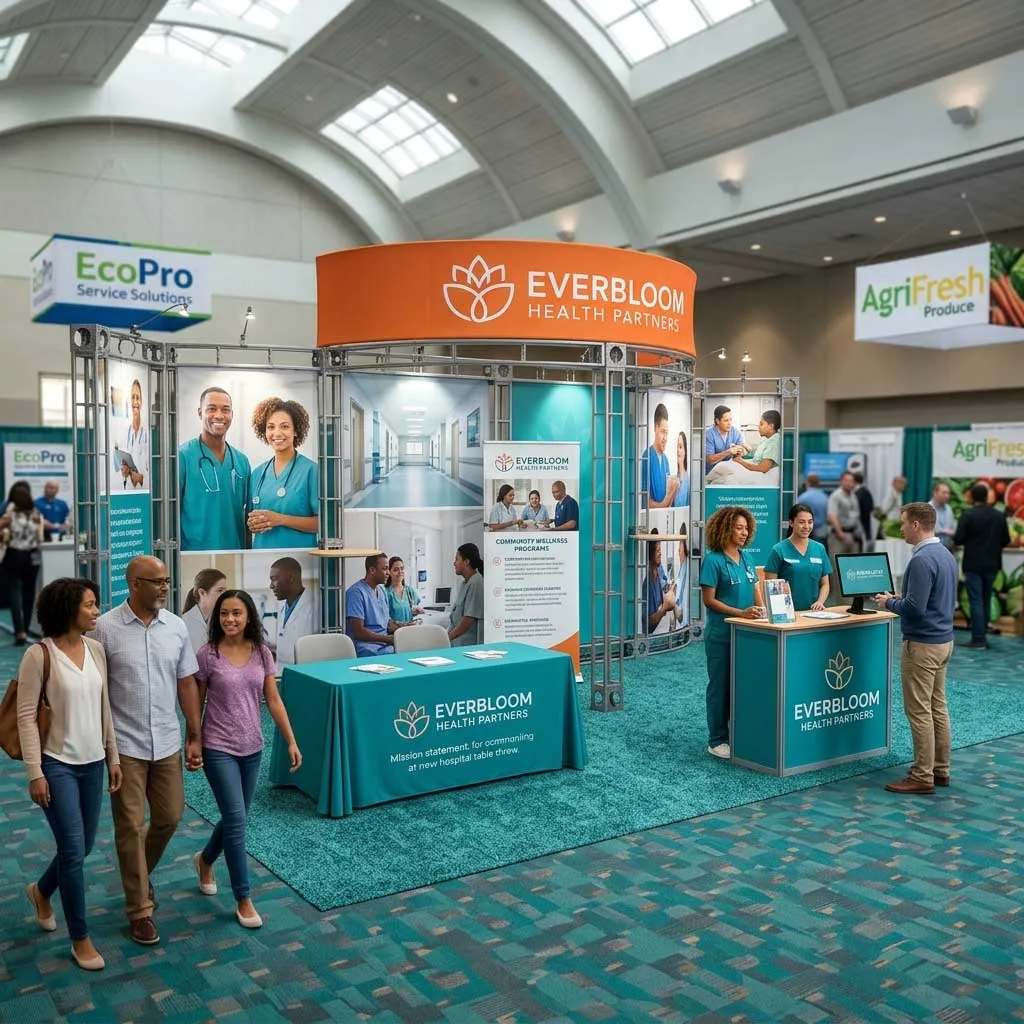
If you’ve been wondering how to design a custom table throw that actually draws attention, you’re in the right place. Below, we’ll walk through everything from choosing the right style to nailing your layout, colors, and messaging so your booth commands attention from across the aisle.
Start With the Right Table Throw Style for Your Setup
Before you open a design tool, you need to decide which type of table throw fits your booth layout and goals. Each style drapes differently, displays graphics differently, and creates a different visual impression. Here’s a quick comparison of the most popular options:
| Style | Best For | Key Advantage | Typical Look |
|---|---|---|---|
| Draped / Throw | Budget-friendly branding | Full coverage on front and sides; easy on/off | Classic, flowing fabric |
| Fitted Table Cover | Polished, tailored appearance | Snug fit with clean corners; no excess fabric | Sleek, professional |
| Stretch Table Cover | Modern, high-impact graphics | Wrinkle-free tension keeps artwork crisp | Tight, contemporary |
| Open Back Table Throw | Exhibitors who need storage access | Front and sides branded; rear open for chairs/boxes | Practical + branded |
If you’re unsure which direction to go, our custom table throw guide breaks down every option in detail — including sizing, fabric types, and use cases — so you can make a confident choice before you start designing.
Quick tip: If your booth staff will sit behind the table or need to access bins and boxes underneath, an open back table throw is almost always the right call. You get full branding impact from the attendee’s perspective without sacrificing functionality.
Design Principles That Make Your Table Throw Stand Out
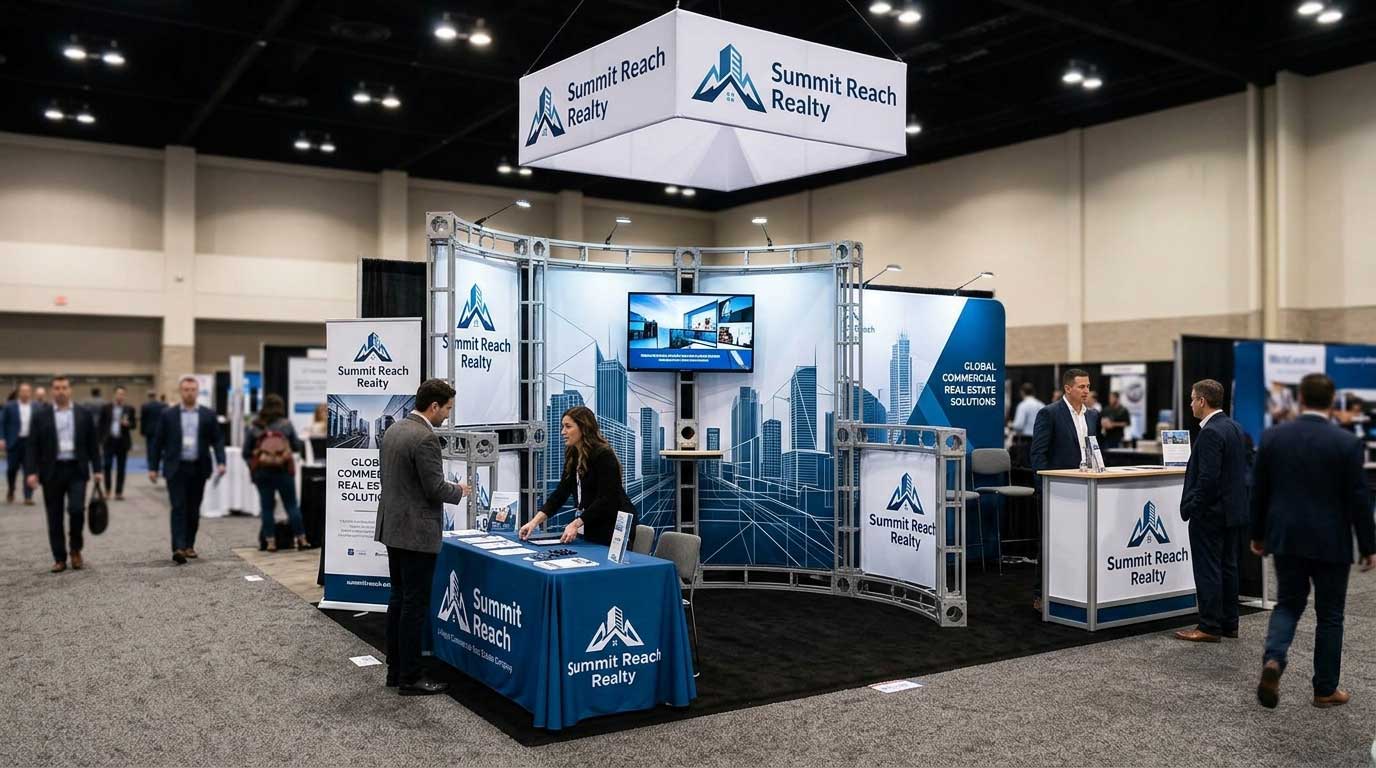
A custom table throw is only as effective as the design printed on it. Here are the core principles that separate forgettable table covers from ones that stop foot traffic.
1. Lead With Your Logo — But Don’t Stop There
Your company logo should be the dominant visual element. Place it at eye level on the front panel, which for a standard 6-foot or 8-foot table means roughly center-front, slightly above the midpoint. This ensures visibility whether attendees are walking the aisle or standing right in front of you.
But a logo alone isn’t enough. Add a tagline, website URL, or a single compelling benefit statement beneath it. Think of your table throw as a mini billboard: you have about two seconds of an attendee’s peripheral vision, so every word needs to earn its place.
2. Choose Colors Strategically
Your brand colors come first, but consider the environment. Trade show floors are visually noisy — hundreds of booths competing for attention simultaneously. If your brand palette is muted, consider pairing it with a bold accent color or a high-contrast background to punch through the visual clutter.
| Color Strategy | When to Use It | Example |
|---|---|---|
| Brand colors on white/light background | Clean, corporate look; detailed graphics | Tech companies, healthcare |
| Brand colors on dark background | Bold contrast; logo pops | Startups, creative agencies |
| Full-bleed vibrant color | Maximum visibility from a distance | Retail brands, event sponsors |
| Photographic full-bleed | Product showcase or lifestyle branding | Food & beverage, travel |
3. Keep Text Minimal and Readable
The biggest design mistake exhibitors make? Cramming too much information onto the table throw. Remember, the front panel of a draped table throw is roughly 30 inches tall on a standard-height table. At typical aisle distances, small text vanishes.
Rule of thumb: If you can’t read it from 10 feet away, remove it or make it bigger. Stick to your logo, one headline or tagline, and your website. Everything else belongs on your banner stand, handouts, or screen.
4. Think About the Whole Booth, Not Just the Table
Your table throw doesn’t exist in isolation. It’s one piece of a larger booth environment that might include a backdrop, signage, and promotional displays. Design your table throw so it complements — not competes with — your other branded elements.
For example, if you’re pairing a printed table throw with a fabric pop up display behind your table, coordinate the color palette and graphic style across both pieces. Consistent branding across every touchpoint makes a small booth look polished and intentional, which builds trust before you even say hello.
Similarly, if your budget allows for vertical signage, a retractable banner stand flanking one or both sides of your table creates a cohesive visual frame that draws the eye inward toward your display.
Practical Design Steps: From Concept to Print-Ready File
Let’s get tactical. Here’s a step-by-step process for taking your design from idea to a print-ready custom table throw.
Step 1: Get the Correct Template
Every table throw supplier provides design templates specific to the product style and table size you’ve chosen. Download the template before you start designing — it shows you bleed areas, safe zones, fold lines, and print boundaries. Designing without a template is the fastest way to end up with a logo that wraps awkwardly around a corner or text that disappears under a fold.
Step 2: Set Up Your File Correctly
Work in CMYK color mode (not RGB) at a minimum of 150 DPI. Use vector versions of your logo whenever possible — they scale without losing quality. If you’re incorporating photography, make sure the source images are high resolution. Pixelated graphics on a stretch table cover are painfully obvious because the taut fabric acts almost like a screen, displaying every flaw.
Step 3: Design the Front Panel First
The front panel is your primary real estate. Place your logo, tagline, and any supporting graphics here. Once the front panel design feels strong, extend your background color or pattern to the side panels and top for a seamless, wrapped look.
Step 4: Preview and Proof
Most print suppliers offer a digital proof or mockup before production. Review it carefully. Check for:
- Spelling and contact info accuracy — you’d be surprised how often a URL gets a typo.
- Logo placement relative to fold lines — especially on fitted and draped styles.
- Color accuracy — request a fabric swatch or pantone match if brand color fidelity is critical.
- Bleed and safe zone compliance — make sure nothing important sits too close to the edge.
Step 5: Approve and Order With Lead Time in Mind
Custom printed table throws typically require 5-10 business days for production, depending on the supplier and the printing method (dye-sublimation is the industry standard for vibrant, wash-safe results). If you have a show coming up, build in a buffer for shipping and any last-minute adjustments. It also helps to understand custom table throw cost and pricing factors before you finalize your order so there are no surprises.
Common Mistakes to Avoid

Even experienced exhibitors stumble on a few recurring pitfalls. Dodge these and you’ll be ahead of most booths on the floor:
- Using a low-resolution logo. If your logo file is a small JPEG pulled from your website, it won’t look good printed at table-throw scale. Always use the original vector file (.AI, .EPS, or high-res .PDF).
- Ignoring the side panels. Attendees approach from every angle. Leaving the sides blank is a wasted branding opportunity — at minimum, extend your background color and repeat your logo.
- Forgetting wrinkle management. Polyester table throws can be steamed or lightly ironed before the show. A wrinkled throw undermines even the best design. Stretch table covers sidestep this issue entirely because the tension keeps the fabric smooth. After the event, knowing how to clean, fold, and store a custom table cover will keep it looking great for shows to come.
- Designing in a vacuum. Your table throw is part of a broader booth strategy. If you’re exploring how all the pieces fit together — from backdrops to giveaways to lead capture — our complete trade show displays buyer’s guide is a great place to map out your full setup.
Pulling It All Together: Your Table as a Branding Powerhouse
A well-designed custom table throw does more than cover an ugly folding table. It anchors your booth’s visual identity, communicates professionalism, and gives attendees an immediate sense of who you are and what you offer — all before a single word is spoken. Pair it with smart booth planning, cohesive signage, and a solid trade show marketing strategy, and your table becomes one of the hardest-working assets in your exhibit.
Ready to bring your design to life? Browse our full collection of custom table throws to find the style that fits your booth, then upload your artwork or work with our design team to create something that truly gets noticed. Whether you need a simple logo throw for your next networking event or a full-bleed stretch cover for a major industry expo, the right table throw is one of the smartest investments you can make in your trade show presence.
